Introduction
Hello my name is David Thany. I am an artist in the video game industry working in the greater Seattle area. In this tutorial I will share with you an easy way to paint clouds that I developed over the course of my career as an artist. This is a personal technique I discovered while paying around with custom brushes in photoshop some 10 or so years ago..
Note: This is an intermediate tutorial and I will assume you know your way around Photoshop.
Types of Clouds
|
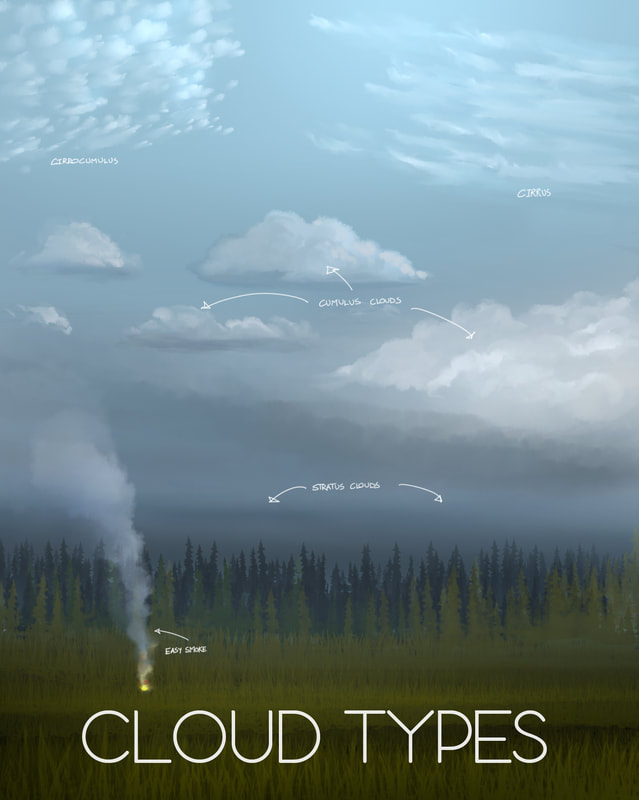
There are a variety of different clouds but I will only focus on the clouds that are unique to one another. This includes the following:
Stratus Clouds Stratus are low-level clouds that blanket the skies. These can easily be painted with a soft edge brush or even a gradient can pass as one. Cumulus Clouds Cumulus usually has a fairly flat base with puffy fluffy tops. They are pretty much what you think about when you hear the word clouds. Cirrus Clouds Cirrus are high-altitude atmospheric clouds characterized by thin, wispy strands. Cirrocumulus Clouds Cirrocumulus are high-altitude tropospheric clouds that appear like small cotton balls often lined up in rows in the sky. FIG 1. See FIG 1. for examples of the different types of clouds. |
FIG 1.
|
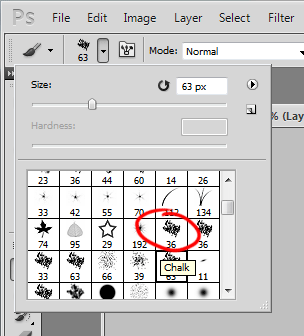
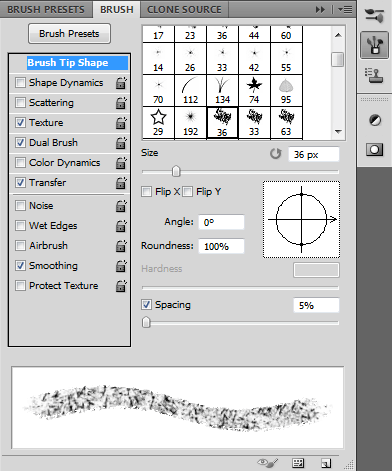
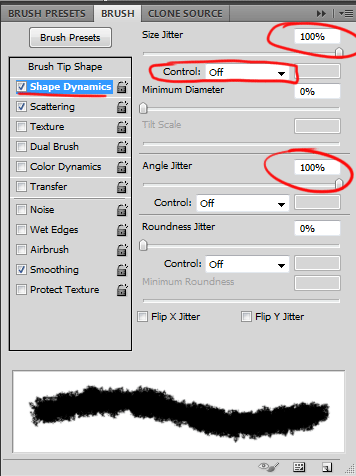
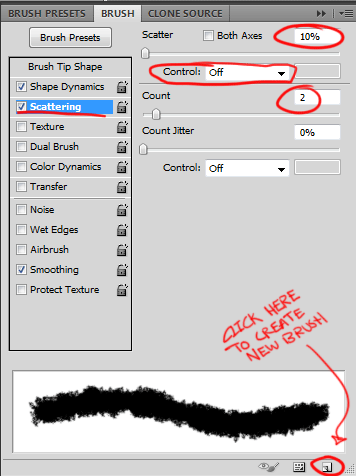
Creating the Custom Cloud Brush
Lets Paint!
Painting with the cloud brush is easy. You can use it to lay down paint as a brush tool and make some decent clouds but the real power comes from using the brush as a smudge tool.
- Method 1: As a smudge tool the brush itself doesn't add any paint to the canvas so you have to lay down some paint ahead of time and smudge in various different ways to create the desired effect.
- Method 2: There is a limited way to paint directly with the smudge tool, you can check the Finger Paint tick box under the smudge tool settings. With Finger Paint checked every time you initially make contact with the canvas a small amount of paint will be laid down. This is really nice when making Cirrocumulus clouds. With this method you will tick and untick the finger painting checkbox depending on if you are wanting more paint on the canvas or just smudging for effect.
Stratus
|
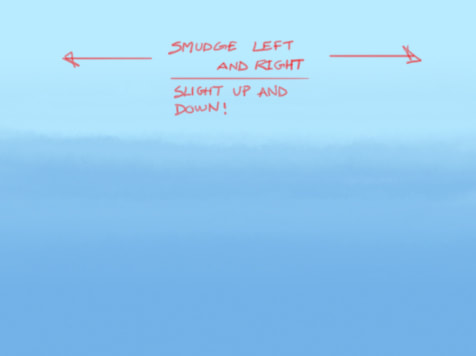
I started here with a simple gradient
|
Smudging with the cloud brush left to right and slightly up and down to pick up the different values, I've already created the effects of the Stratus cloud which is characterized as a large sheet of cloud that blankets the skies. Often times this means rain or snow if the temperature is warm or cold enough.
|
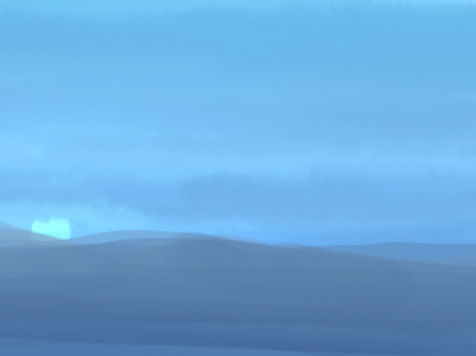
Adding more value to the canvas and smudging with the cloud brush you can continue defining the appearance to suite your needs. Here I've added some landscape and a celestial object to better define the scene.
|
Cumulus
|
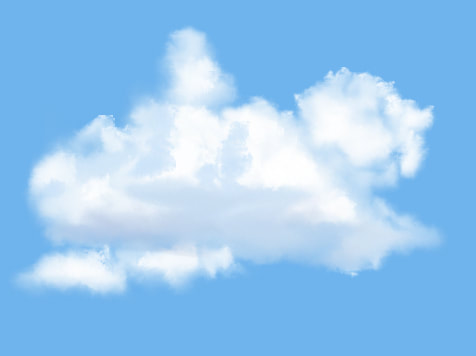
I started out with a solid sky blue color. I ticked the finger paint option from the smudge tool and started adding puffs of clouds with the color white selected. My smudge strength setting is set to about 90%
A higher strength setting will give you harder edges and a softer percentage setting will gave you really soft areas. The bush itself will do so much of the work for you and you'll start seeing things in there that you like or don't like. Keep the parts that you like and work out any of the parts that don't look right by smudging. In the image above I added a darker shade to create the underside of the cloud which I will smudge to create the flat base of the Cumulus. |
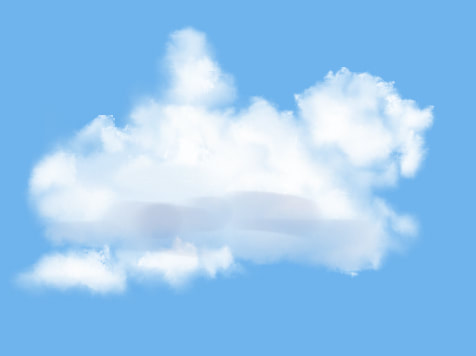
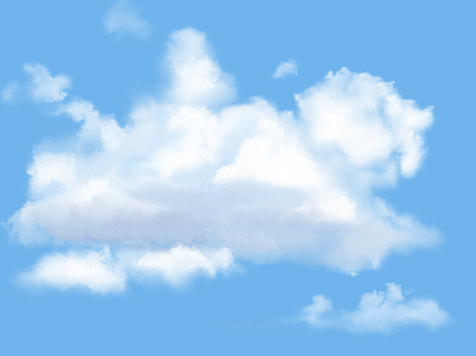
Here you can see that I've blended in the darker value, creating a base for the Cumulus as well as adding some darker values to the side to create some shadow areas to help define the volume of the cloud.
For the cloud to turn out well, You just have to understand the basic formation of the Cumulus clouds. They are mostly fluffy on top with a fairly flat base. |
After blending in all the shadow areas I continued painting until I felt satisfied with the final result.
This technique in the right hands creates realistic clouds and is great for Matte paintings. Remember, if you are having trouble painting clouds never fear having to look up reference photos. |
Cirrus
|
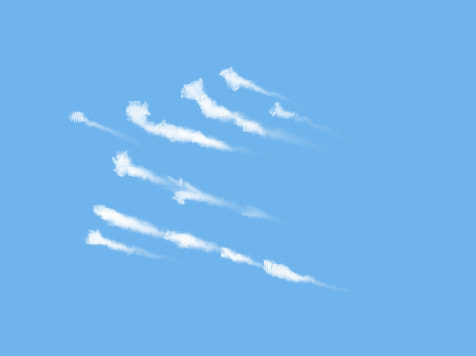
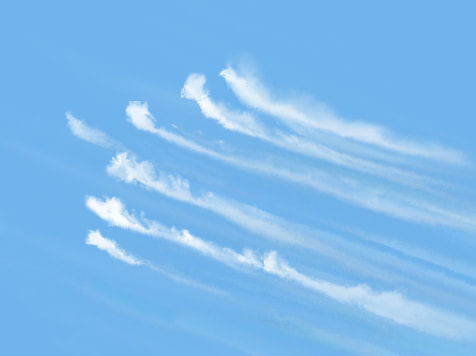
Cirrus clouds are painted directly with the smudge tool and finger painting check box ticked. Just touch and pull to form these small streaky clouds.
|
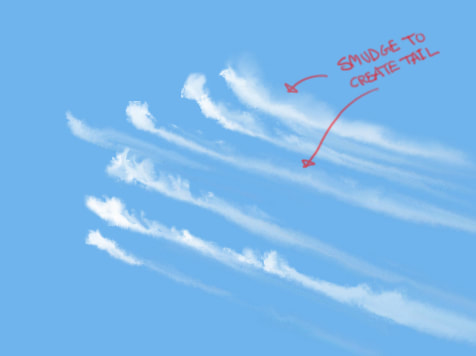
You'll want to uncheck finger painting because we don't want to add more paint to the canvas. Then at around 88% strength smudge a long wispy tail.
You can add details to the head like feather looking streaks as well. Reference will be you best friend here. |
The final image has some slighter lighter cloud trails in the background.
|
Cirrocumulus
|
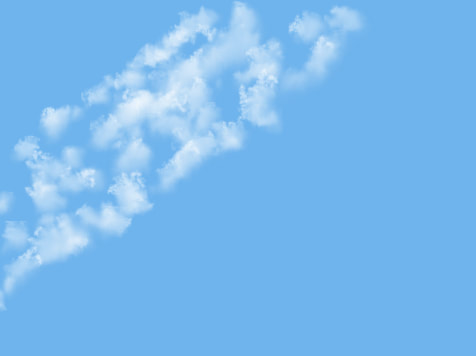
This is by far the easiest cloud to paint as it's just a puff of cloud and your cloud brush does this pretty well automatically on first contact.
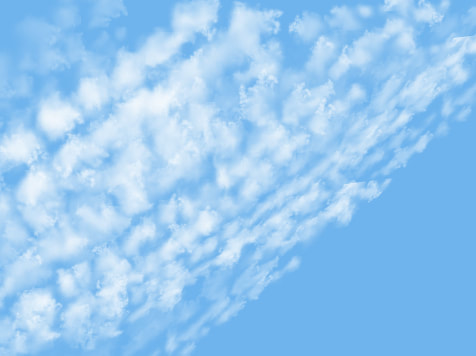
With finger paint checked on the smudge tool and color white selected, start popping in balls of clouds in a straight line, wavy line or whatever effect you are looking to get based on your reference photo. |
Continue adding more and more puffs of clouds keeping in mind perspective as well.
|
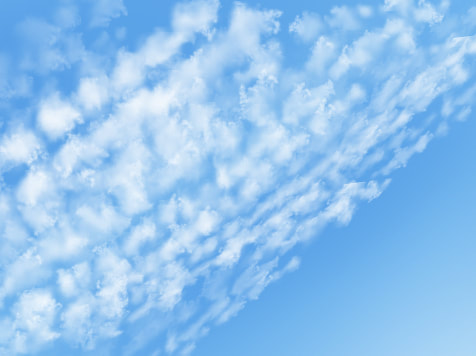
Here I've darken the upper skies and lighten the lower to give it a high-atmospheric look.
|
Bonus: Smoke
|
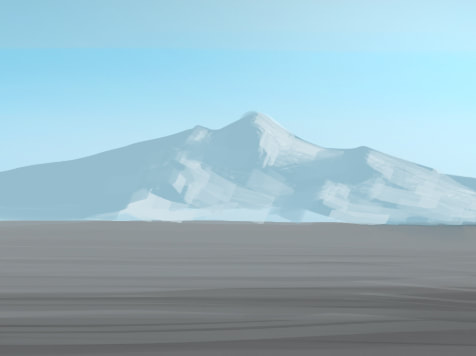
A volcanic eruption is probably one of the harder things to paint due to the amount of detail that is seen in it. This also depends on your rendering style, if you are painting more abstract, it'll always be easier.
|
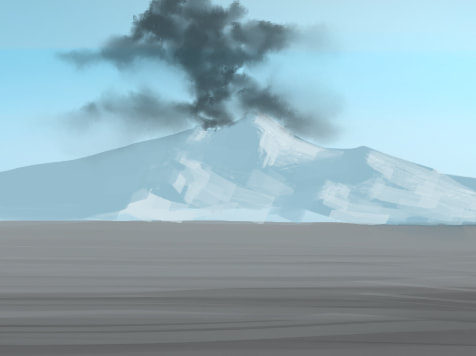
In this shot I started painting a dark cloud base which I will then paint lighter values over as I determine which direction the light source is coming from. Obviously from the painting of the mountains we can clearly see the shadow is on the left and the light is coming from the right.
|
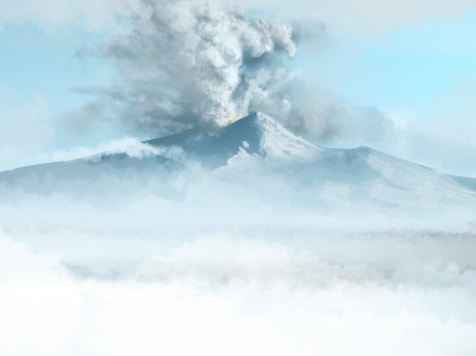
With that in mind I started painting the eruption using the same techniques I use to paint the clouds until I was happy with the result. I then added a layer of lowland fog.
|
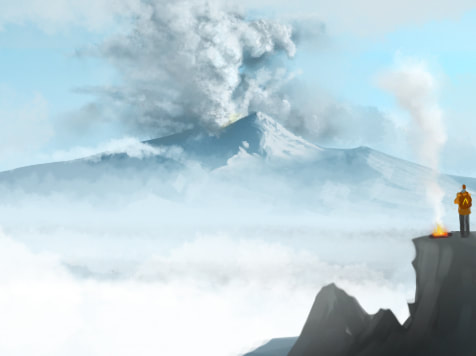
I added a cliff in the foreground with a campfire. Smoke is really easy to do. Smoke like chimney, campfire, cigar etc are straight forward and can be done with the cloud brush as a brush itself or as a smudge tool. either way you'll probably end up smudging it to get the desired look.
In the example above I have a campfire burning. The smoke was painted directly with the cloud brush. I then darken some of the smoke and smudged with the cloud brush to get the final result. If I wanted I can also add some color to the smoke near the fire to show that the light of the fire is illuminating the smoke near by.
In the example above I have a campfire burning. The smoke was painted directly with the cloud brush. I then darken some of the smoke and smudged with the cloud brush to get the final result. If I wanted I can also add some color to the smoke near the fire to show that the light of the fire is illuminating the smoke near by.
If you got this far, I would like to thank You for your time.
I hope my instructions in this tutorial serves you well, and if you'd like to see more just let me know. You can contact me through my Instagram here: www.instagram.com/thanian_nation if you enjoy my work and would like to support what I do, please follow and help me reach a larger audience. Thanks again!

